
This Book Pocket Pillow Case Pattern was inspired by the AGF Bookish line, which you can find at Annie’s Quilt Shoppe in Shelton, WA.
We had so much fun making this, and it’s such a quick and easy project you can make with family, friends, or just by yourself in about an hour! Make sure to tag @anniesquiltshoppe and @riptideretreat on your social media posts when you’re finished for a chance to be featured on our stories!
Without further ado, let’s begin!
1-Seam Book Pocket Pillow
Makes (1) 18“x 18″ Pillow
By: Amber Gajadhar
Materials Required
- 1/2 yard Main Fabric (for background & back)
- 1/2 yard Accent Fabric (for pocket & back)
- Optional: 1 Fat Quarter Fusible Stabilizer (for pocket)
Cutting Instructions:
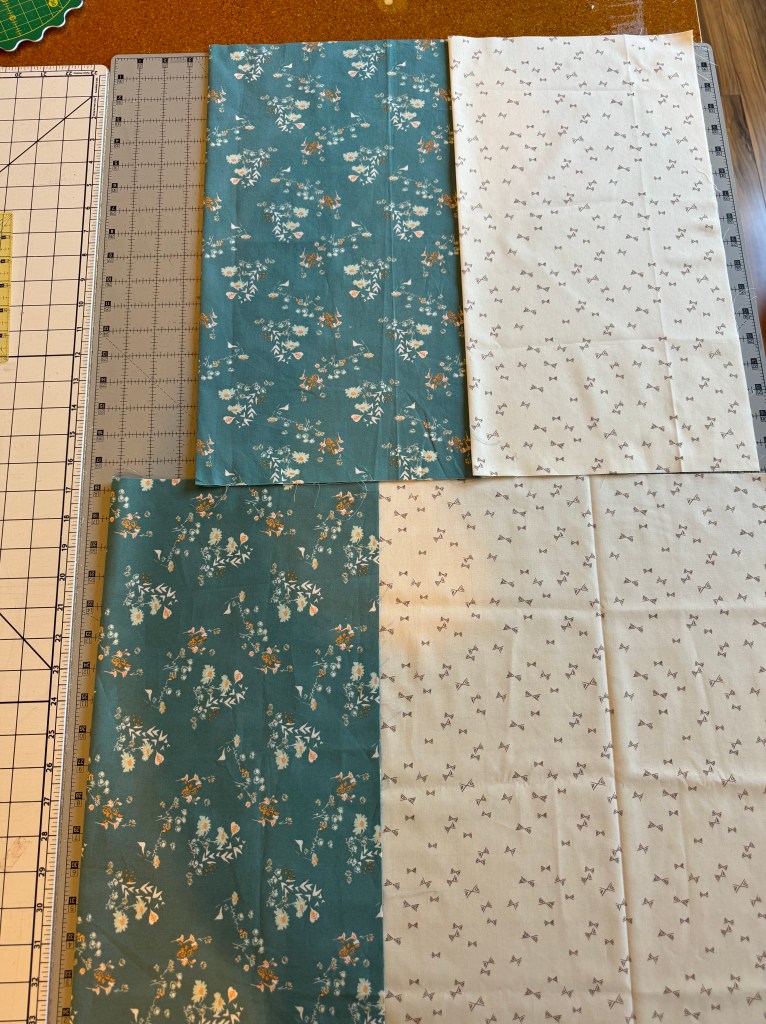
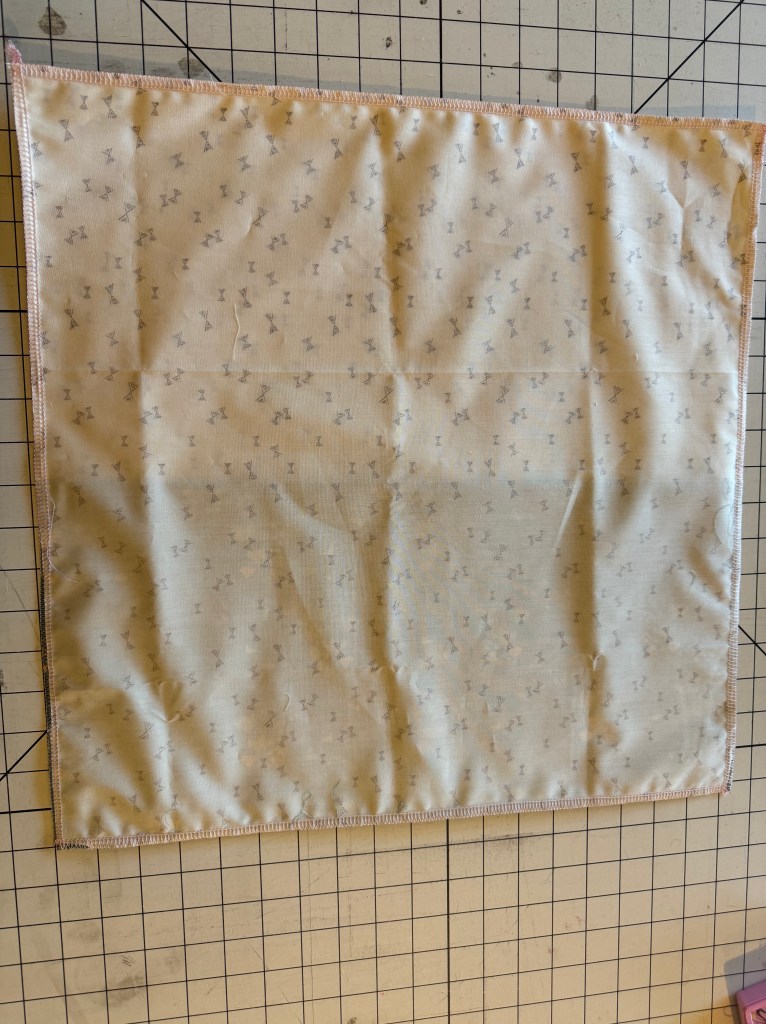
From Main fabric (pictured cream with brown bows fabric), cut:
- (1) 18.5” x 18.5” square (A)
- (1) 18.5” x 20” rectangle (B)
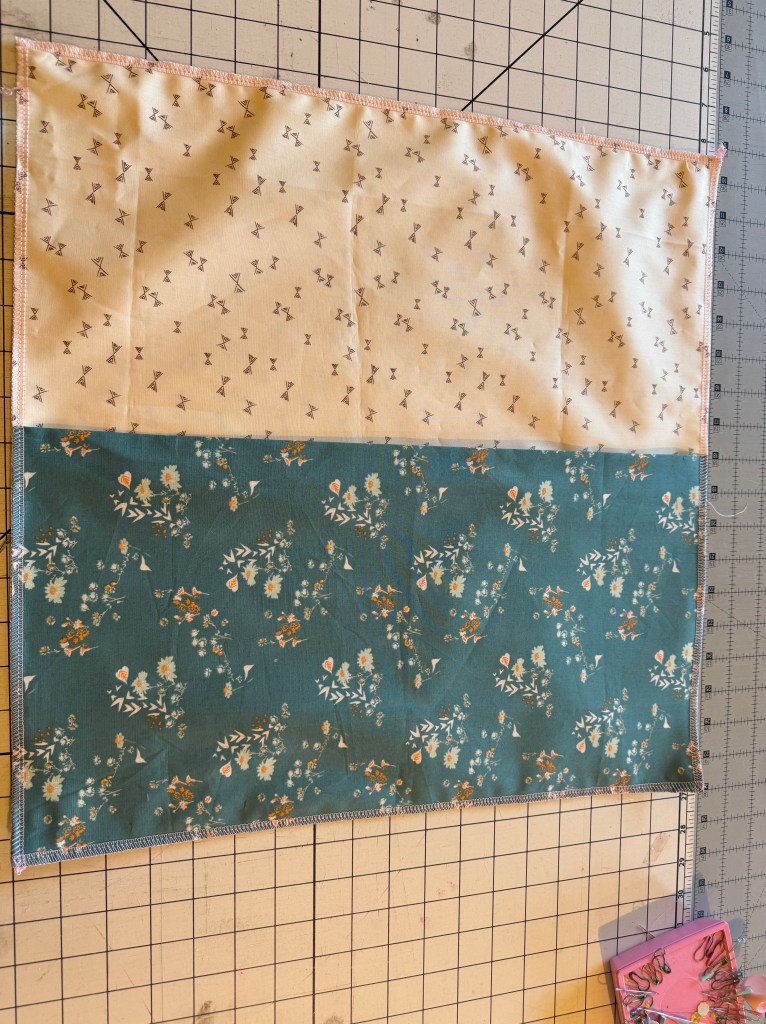
From Accent fabric (pictured blue floral fabric), cut:
- (1) 18.5” x 18.5” square (C)
- (1) 18.5” x 20” rectangle (D)
From Fusible Stabilizer, cut:
- (1) 18.5” x 9” Piece (E)

Assembling the Pillow:
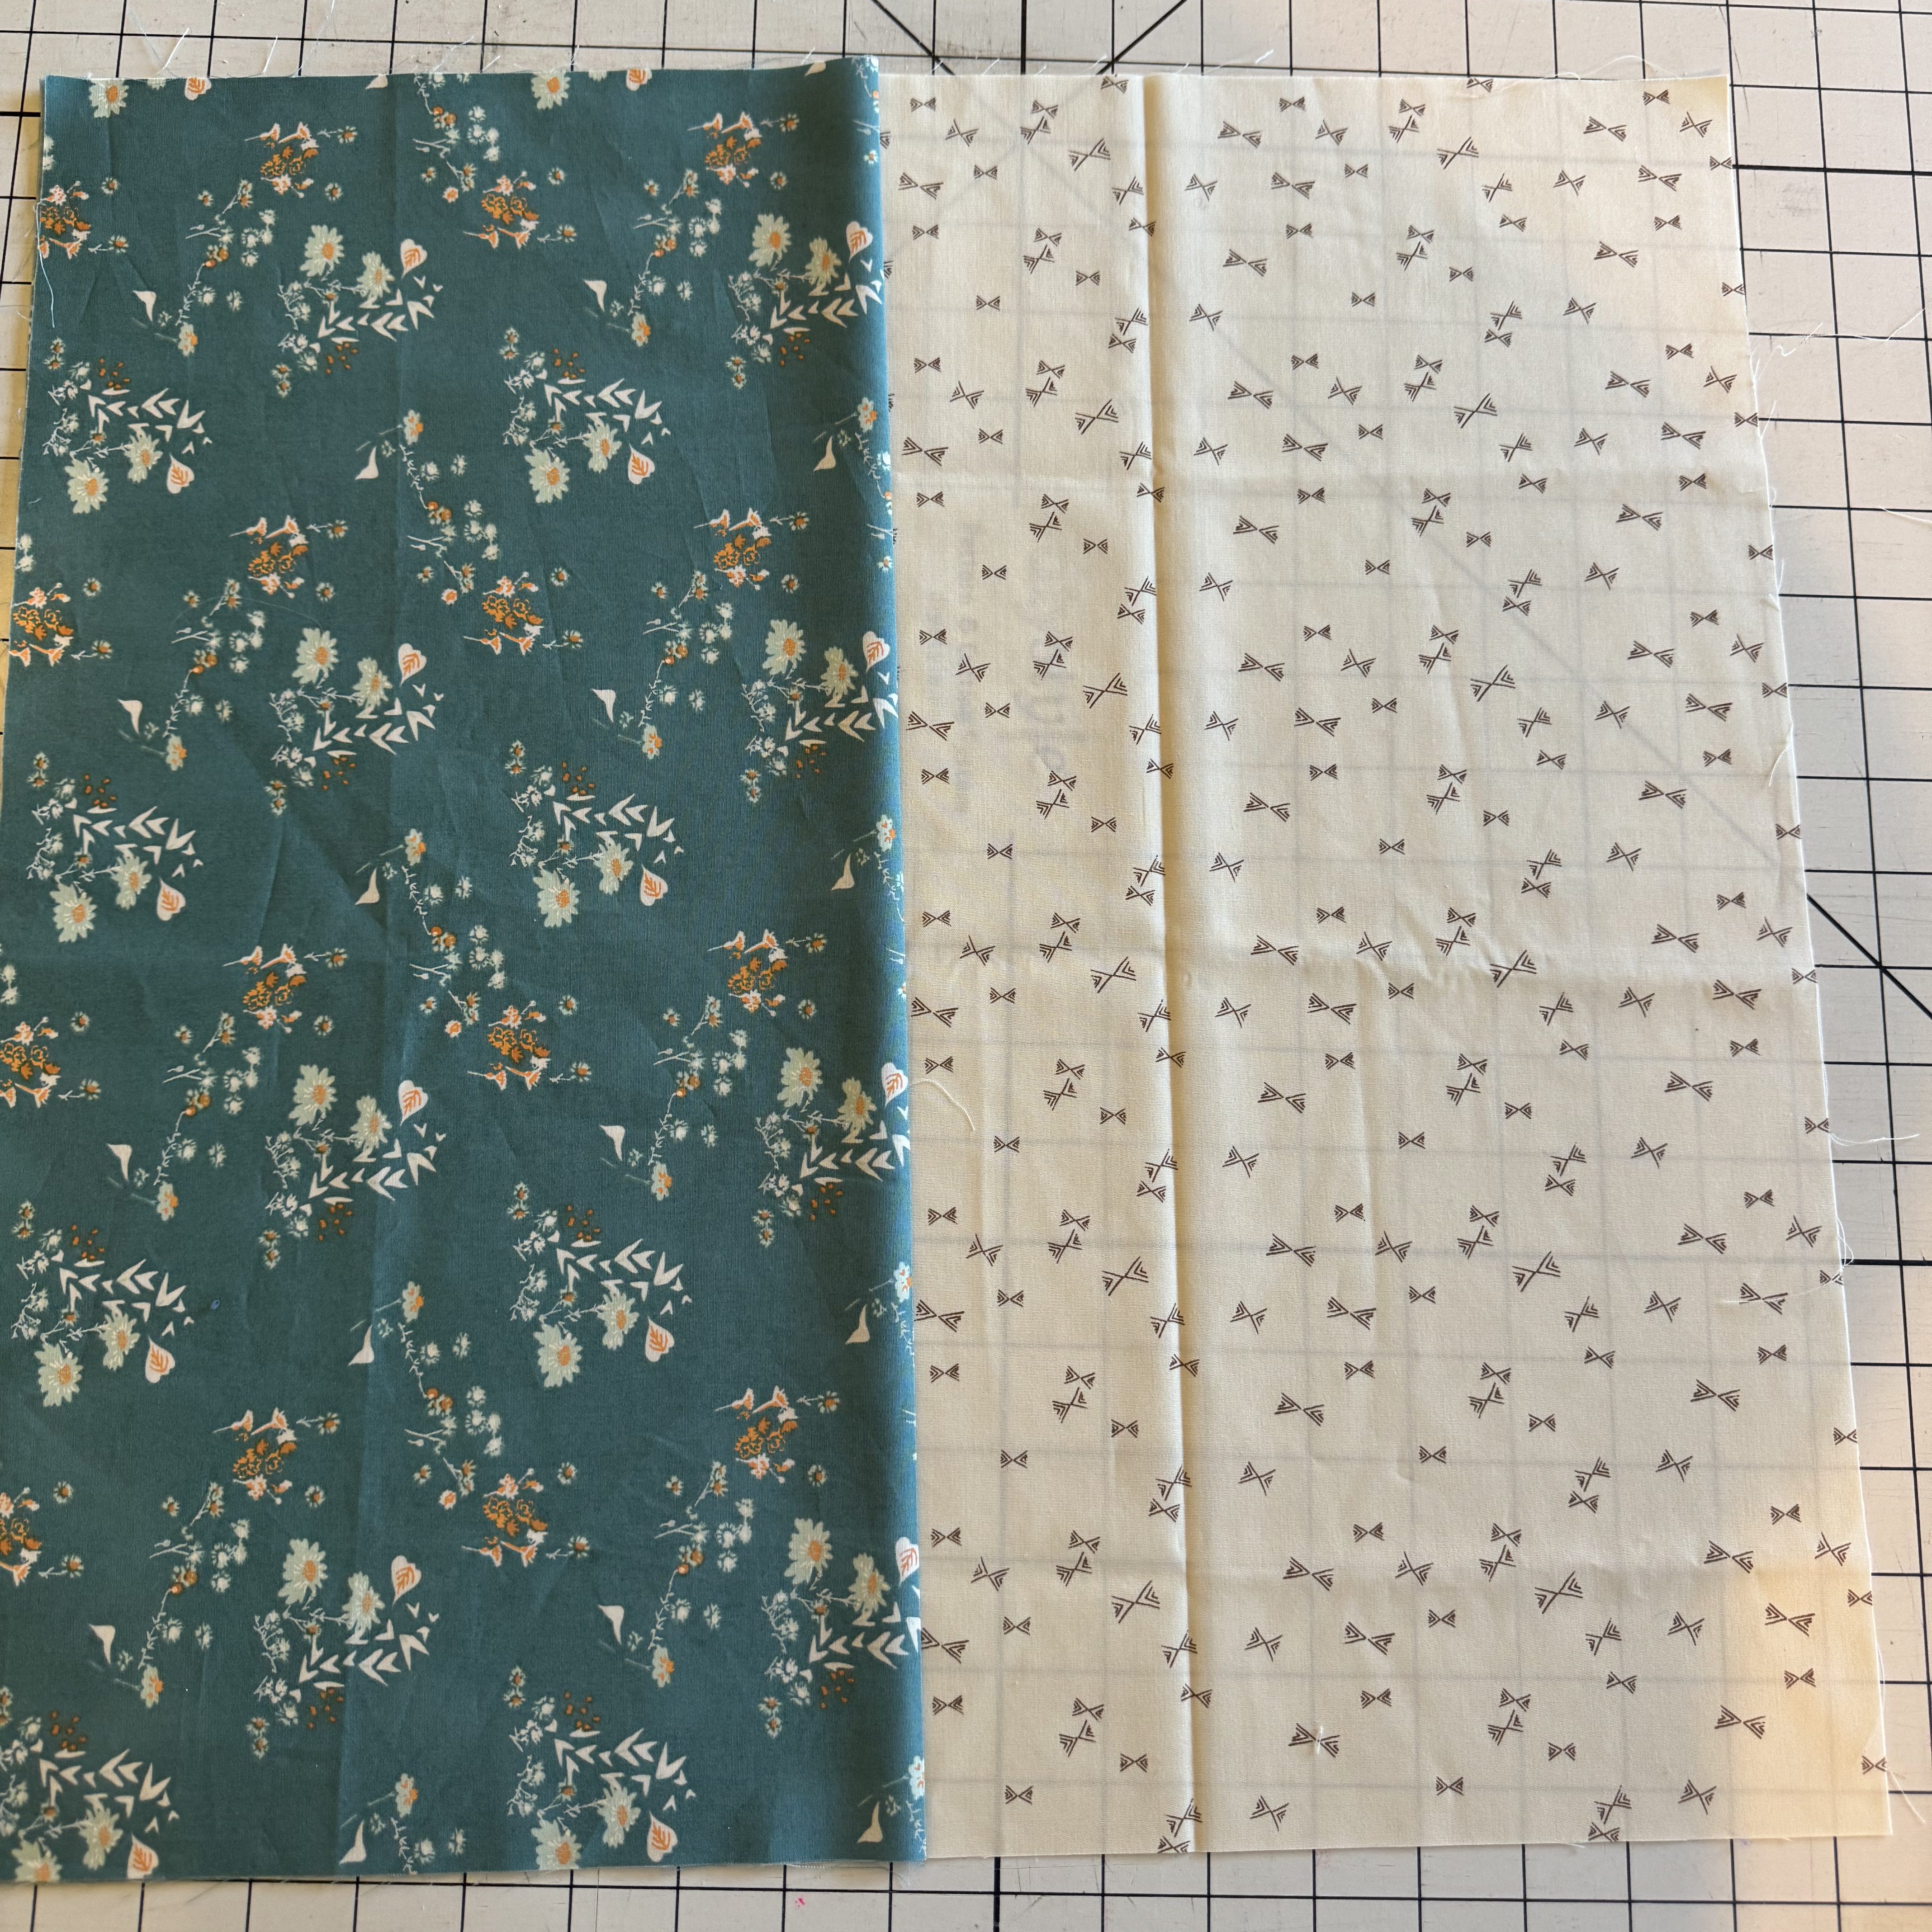
- Fold Pieces (B), (C), and (D) in half hamburger style with Wrong Sides Together, so that one side remains 18.5” long. Press Flat.
- If desired, fuse (E) stabilizer to one half of (C) piece.
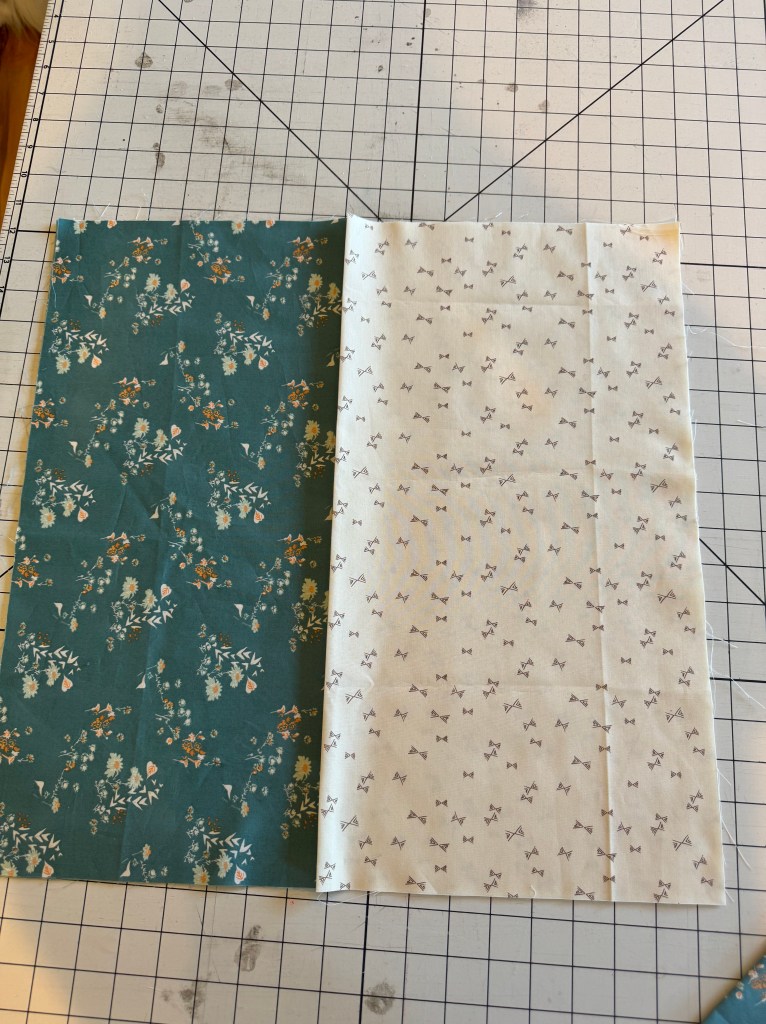
2. Now place Piece (A) Right Side Up on your table.
3. Layer the folded and fused Piece (C) on top of Piece (A), matching Piece (C)‘s raw edges to the bottom of Piece (A). Ensure folded edge is in the center. Right sides will be together because it is folded in half.
4. Layer Pieces (B) and (D) on top of (A) & (C), again matching raw edges and ensuring the folded edges are in the center.
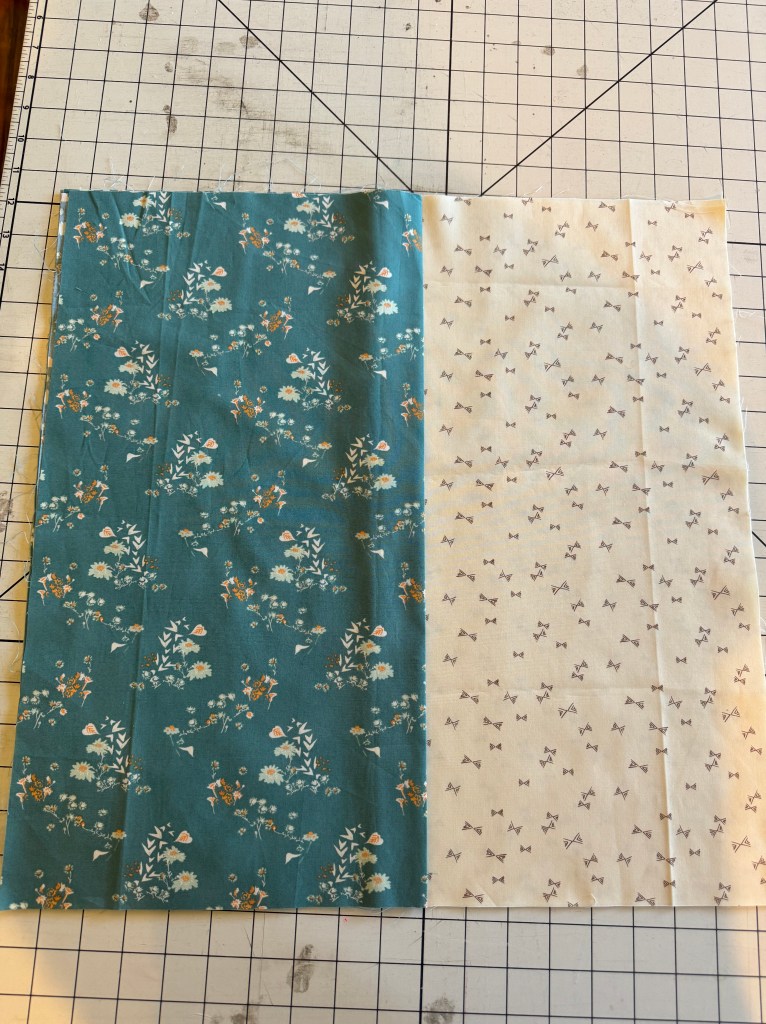
5. Pin everything in place around the edges of the project, ensuring to pin through all layers.

6. Sew all the way around the project. We chose to use a serger and do a 4-thread overlock stitch, but a straight stitch and finishing the edge with a zig zag would work just as well.
7. Press flat.
8. Turn project Right Sides out by using the back flaps.
9. Press flat again.
10. You’re done! Stuff an 18” Pillow Insert into the Pillow Case, and you’re good to go!

Notes:
Alternatively, you can use a third color for the back and have matching pieces, or use the main fabric for both pieces as well. Just Cut pieces (B) and (D) out of the same color. You will need ½ of a yard for these pieces.
To make this pillow case for a larger or smaller pillow, simply follow the cutting formula below, and then use the same construction as above.
Cutting Formula:
From Main fabric, cut:
- (1) (pillow length) x (pillow width) rectangle (A)
- (1) (1.1 * pillow length) x (pillow width) rectangle (B)
From Accent Fabric, cut:
- (1) (pillow length) x (pillow width) rectangle (C)
- (1) (1.1 * pillow length) x (pillow width) (D)
From Fusible Stabilizer (optional), cut:
- (1) (0.5 * pillow length) x (pillow width) Piece (E)
Thank you so much for making this Book Pocket Pillow Case with us, and we can’t wait to make the next project with you!

Leave a comment