Half Square Triangles, or HSTs, are a super common block used in quilting! Many patterns ask for quilters to cut out two right triangles, and then stitch them back together to make a square! Here’s how we make our Half Square Triangles– the easy way!
Now, this method only works if you need at least (2) half square triangles out of the same color ways. If you only need one HST of a color way, you’ll have to make it the old fashioned way (or risk wasting/overusing a fabric)!
To begin, you’ll need:
(You can find all of these at Annie’s Quilt Shoppe)
- Two squares of fabric at least 1″ larger than the desired size of your (finished) HST
- Bloc Loc Ruler*
- Magic Wand*
- Rotary Cutter
- Rotating Cutting Mat*
- Sewing Machine
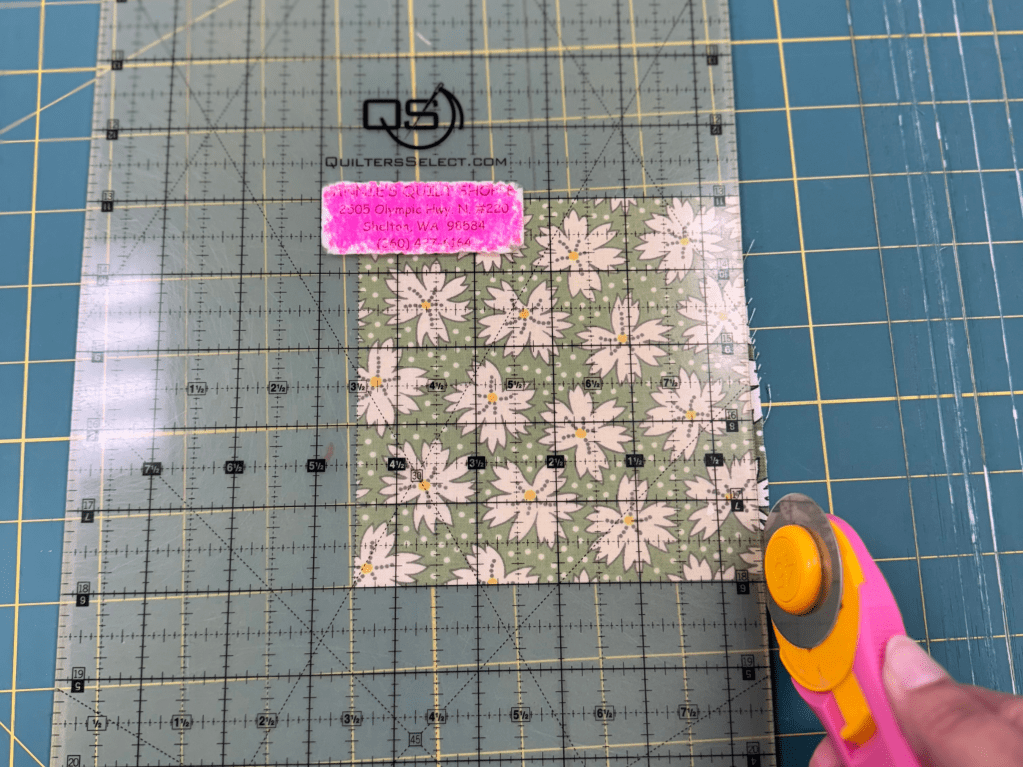
Start by cutting your fabric squares to be 1″ larger than the desired size of your (finished) HST. Our finished HSTs will be 3.5″, so we trimmed to be 4.5″.
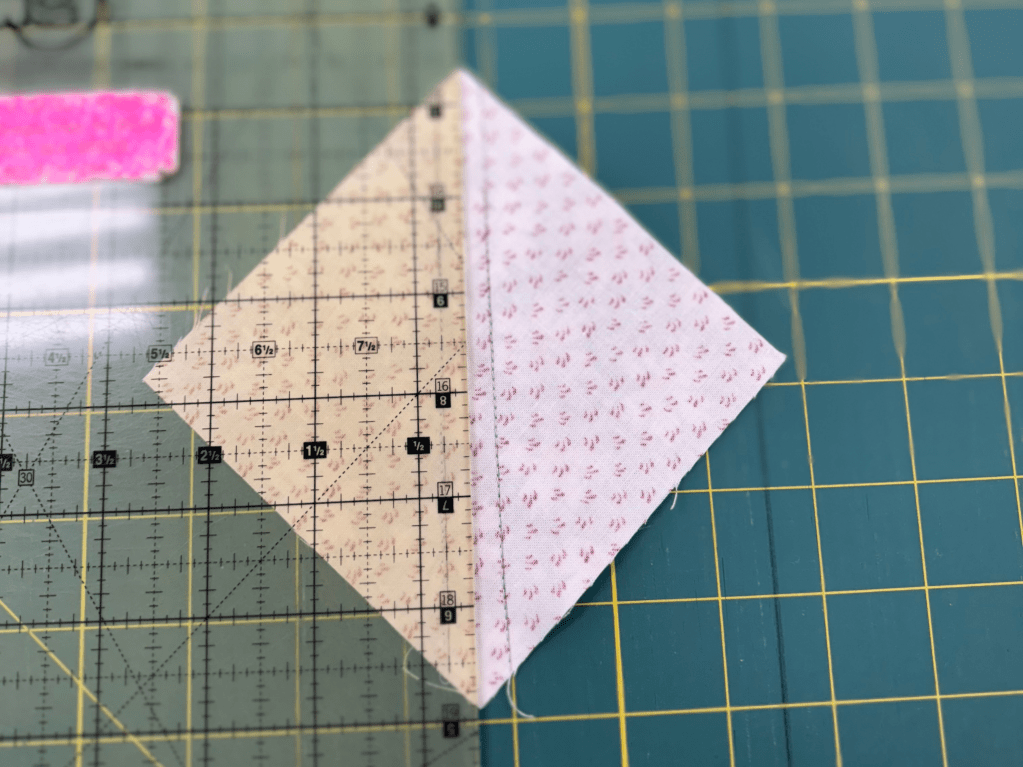
Then, lay them right sides together (RST).
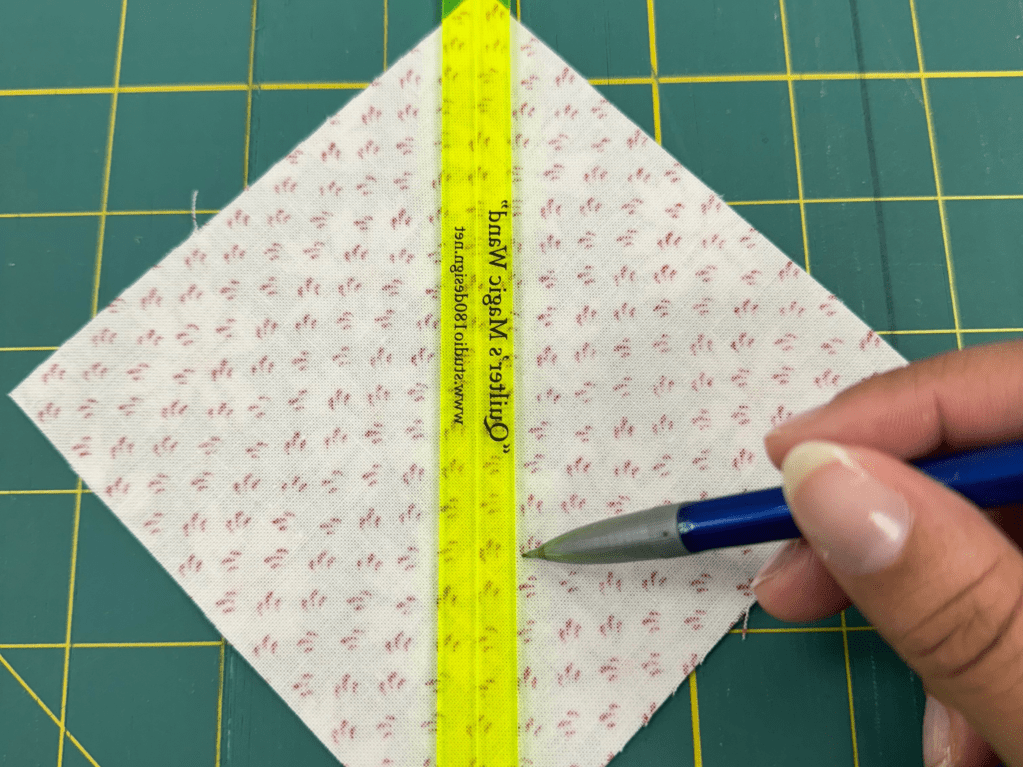
Using the Magic Wand to align to the center line, trace 2 diagonal lines from corner to corner a 1/4″ from the center.
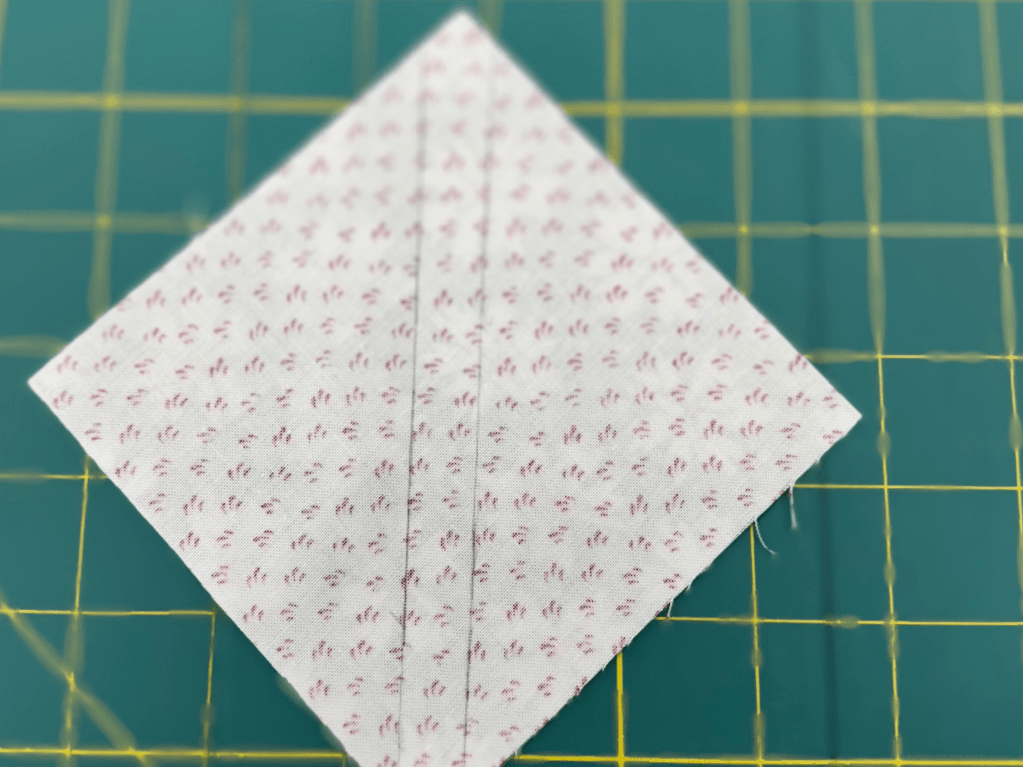
Then, stitch a straight piecing stitch (we usually do a 1.8 stitch length) down the two lines you drew.

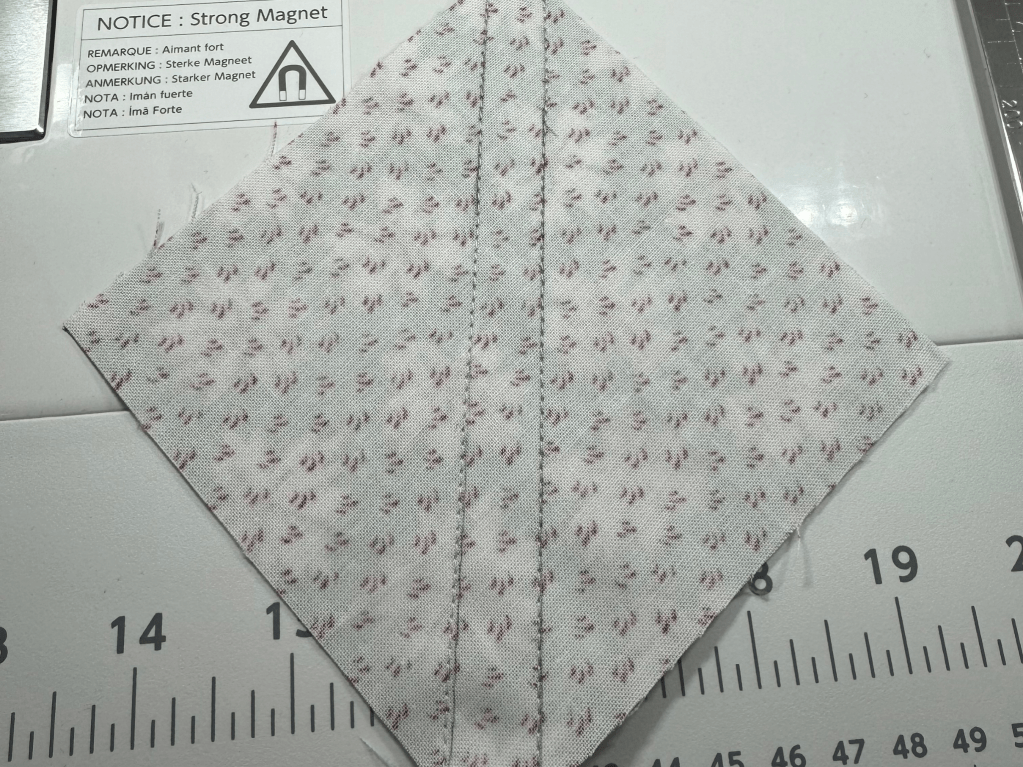
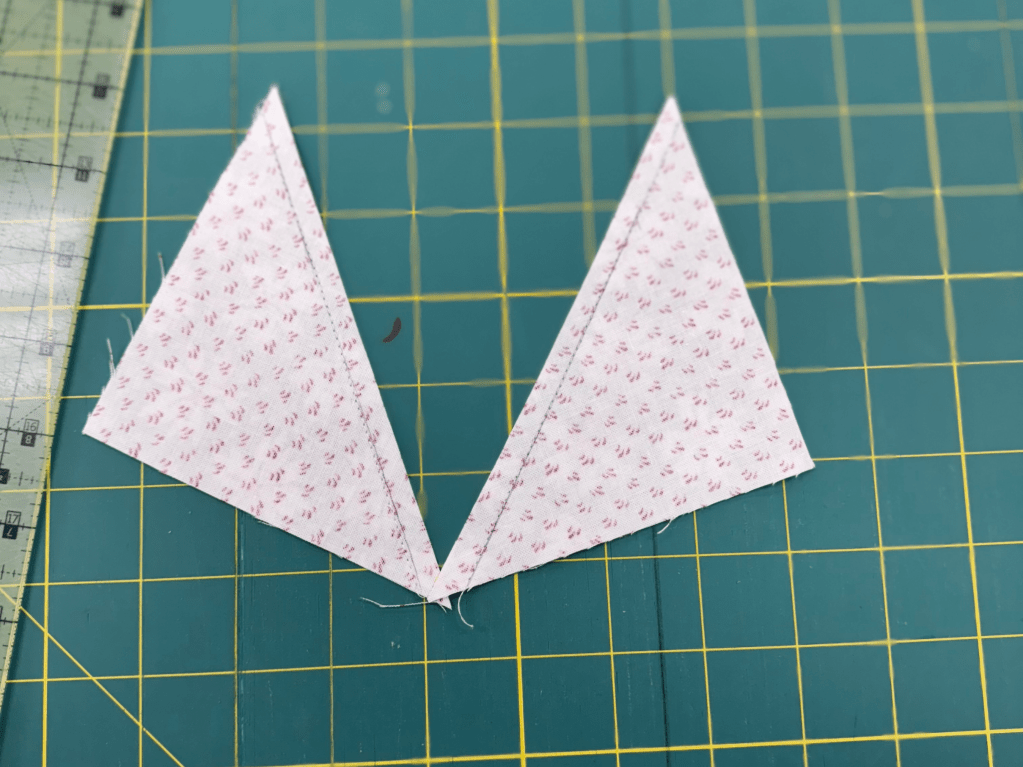
Cut down the center of the squares (should be a 1/4″ from both stitches).
Now you should have two HST units.
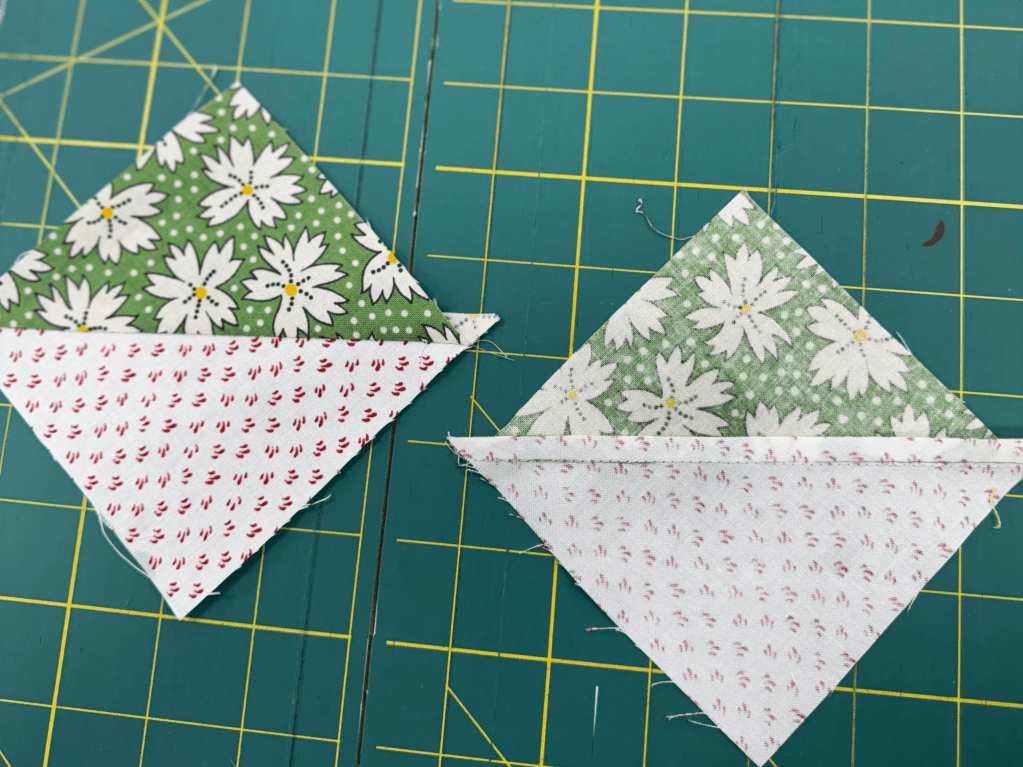
Take both units and press towards the dark side. You want to press the seams to one side so that the Bloc Loc Ruler has a channel to “lock” into.
Take one HST unit, and your Bloc Loc Ruler, and place the ruler onto the HST, with the channel “locking” into the seam.
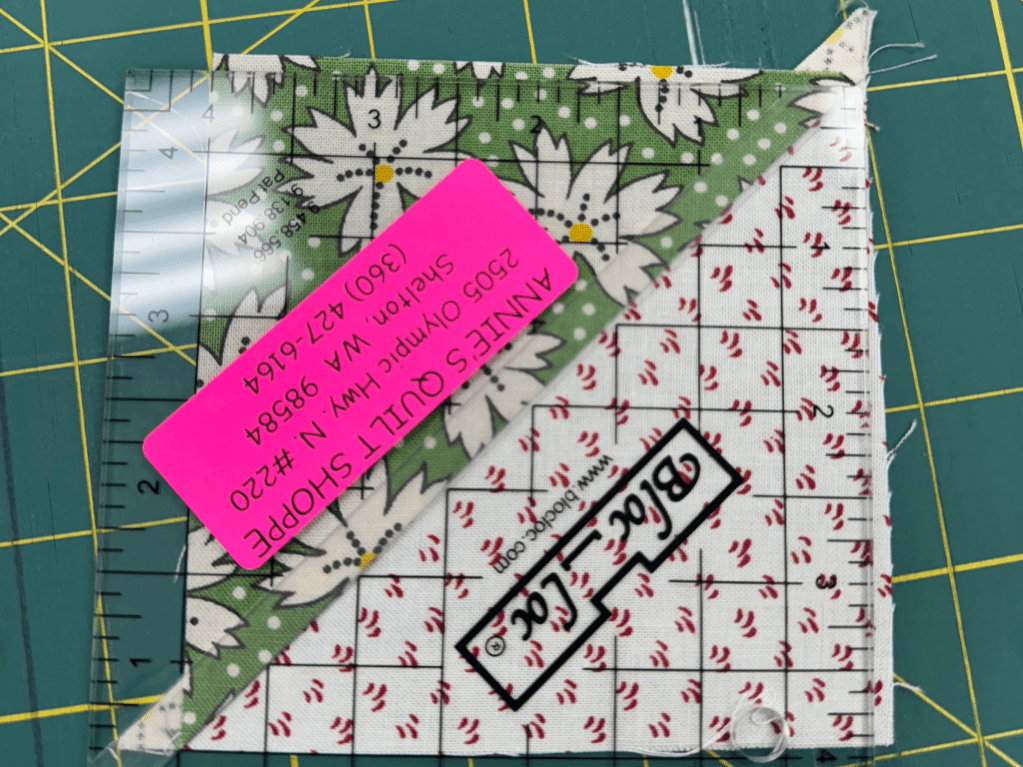
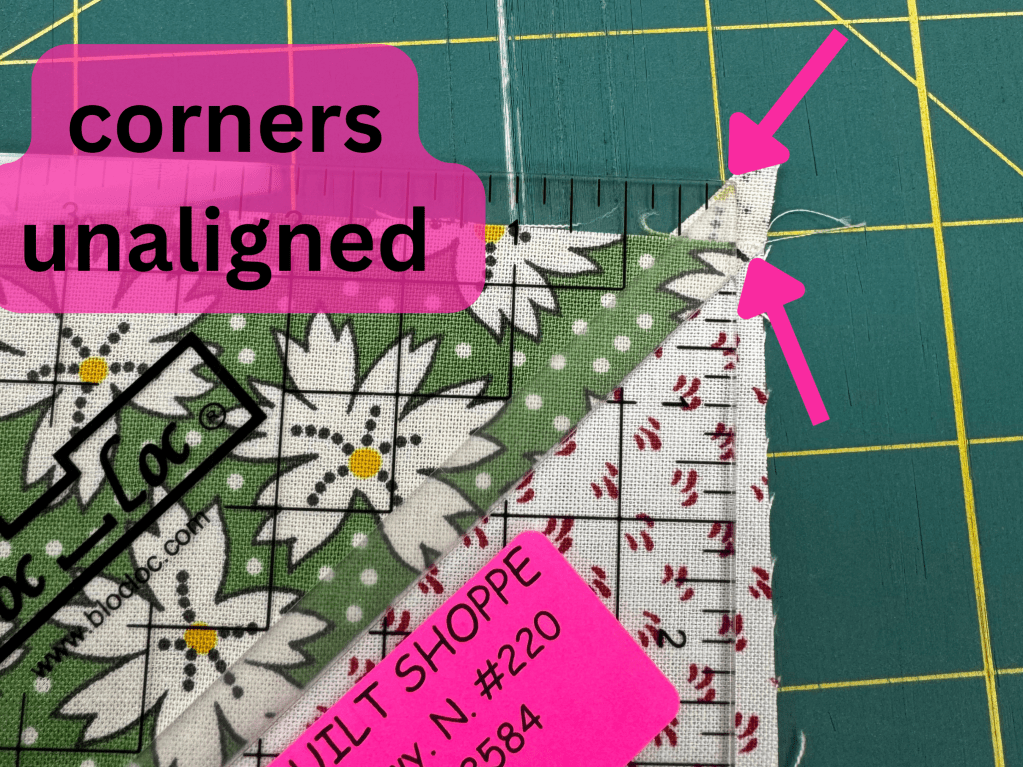
Make sure that the corners of your unit are in line with the corners of the ruler, other wise you’ll end up with an uneven HST(See photo below)!


Slide the ruler down the seam until the measuring lines of your desired size of HST* are (mostly) lined up with the corners of the HST unit. Trim. Our finished HSTs will be 3.5″, so we trimmed to 4″. This is so you have a seam allowance in your blocks for when you assemble them.
Flip the entire project 180º (ruler and HST unit). This is where having a rotating cutting mat really comes in handy, but you can totally just use a normal one and flip around your HST and ruler. Slide the ruler down again until the desired measuring lines are lined up with the corners of the HST unit (should be perfect this time, since you just trimmed it!). Trim.

Repeat the Trimming Instructions with your second HST, and you are DONE!

Notes:
- If you do not have a magic wand, use a straight edge to draw a diagonal line down the center of your square from corner to corner. Then draw two more lines 1/4″ from the center line. Stitch down those two lines–not the center line! (I do this all the time–oops!).
- The desired size of your HST unit should be the unfinished size of the HSTs, or 1/2″ larger than the finished size. For example, trim to 3.5″ if you want a finished 3″ HST!
- If when you are trimming your HSTs, it seems like the units are too small to trim to your desired size, you might have your ruler upside down. Check to see if the corners of your HST are inline with the corners of your ruler! It should look like the picture below!
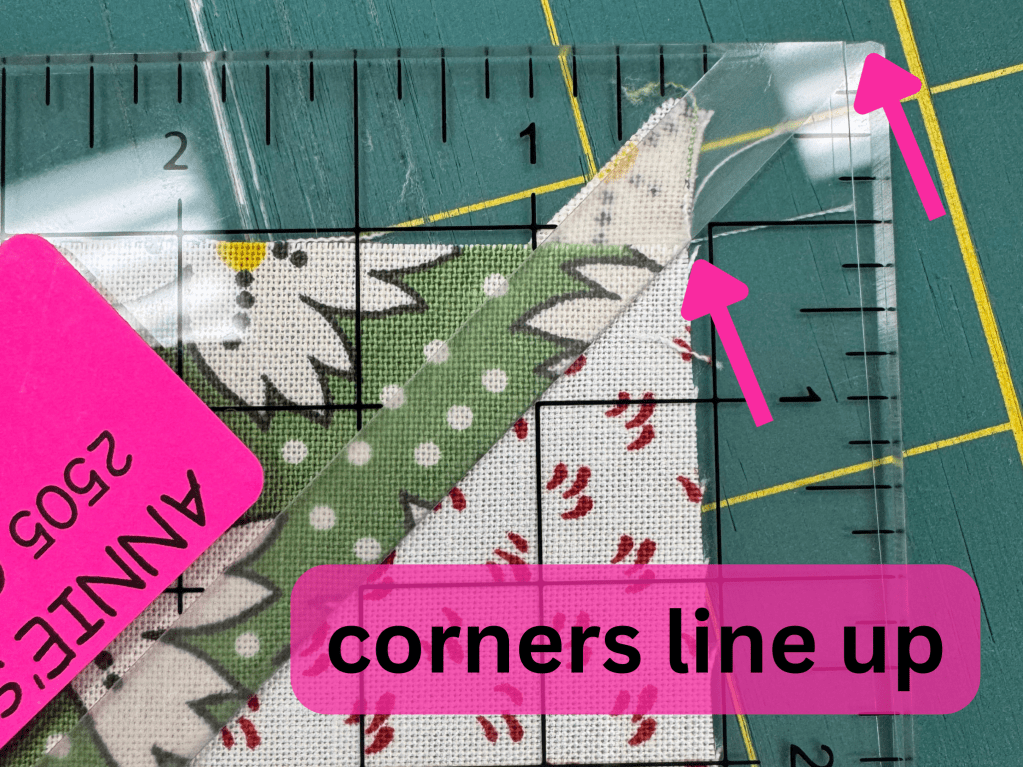
- If you don’t have a Bloc Loc ruler, get one! No, I’m just kidding! You can use a normal (preferably square) ruler. You can just take some painter’s tape or washi tape and mark a diagonal line at the unfinished size that you want. (See photo below!) Then, align the seam of your HST with the edge of the tape closest to the corner of the ruler. Trim! Open, and press as desired. Trim off the little tails on the edges!.

Leave a comment